2017년 4월 11일 화요일

android studio application rename


android studio application rename

values > string.xml app_name edit

아래와 같이 하면 된다.


2017년 3월 21일 화요일

시스코 라우터 설정 및 컨피그 설정


!
!
!

!
version 12.4
service timestamps debug datetime msec
service timestamps log datetime msec
service password-encryption
no service dhcp
!
hostname ESW1
!
boot-start-marker
boot-end-marker
!
enable secret 5 $1$EXc/$di1Le1wv9mcLDTQI6tvDr0
enable password 7 144603591B
!
no aaa new-model
memory-size iomem 5
no ip routing
no ip icmp rate-limit unreachable
no ip cef
!
!
!
!
no ip domain lookup
!
!
!
!
!
!
!
!
!
!
!
!
!
!
!
!
vtp file nvram:vlan.dat

username buster password 7 025715091C
!
!
ip tcp synwait-time 5
!
!
!
interface FastEthernet0/0
 description *** Unused for Layer2 EtherSwitch ***
 no ip address
 no ip route-cache
 duplex auto
 speed auto
!
interface Serial0/0
 no ip address
 no ip route-cache
 shutdown
 clock rate 2000000
!
interface FastEthernet0/1
 description *** Unused for Layer2 EtherSwitch ***
 no ip address
 no ip route-cache
 shutdown
 duplex auto
 speed auto
!
interface FastEthernet1/0
 duplex full
 speed 100
!
interface FastEthernet1/1
 duplex full
 speed 100
!
interface FastEthernet1/2
 duplex full
 speed 100
!
interface FastEthernet1/3
 duplex full
 speed 100
!
interface FastEthernet1/4
 duplex full
 speed 100
!
interface FastEthernet1/5
 duplex full
 speed 100
!
interface FastEthernet1/6
 duplex full
 speed 100
!
interface FastEthernet1/7
 duplex full
 speed 100
!
interface FastEthernet1/8
 duplex full
 speed 100
!
interface FastEthernet1/9
 duplex full
 speed 100
!
interface FastEthernet1/10
 duplex full
 speed 100
!
interface FastEthernet1/11
 duplex full
 speed 100
!
interface FastEthernet1/12
 duplex full
 speed 100
!
interface FastEthernet1/13
 duplex full
 speed 100
!
interface FastEthernet1/14
 duplex full
 speed 100
!
interface FastEthernet1/15
 duplex full
 speed 100
!
interface Vlan1
 ip address 10.180.1.1 255.255.255.0
 no ip route-cache
!
ip default-gateway 10.1.1.1
ip route 192.168.2.0 255.255.255.0 10.1.1.0
!
!
no ip http server
no ip http secure-server
!
no cdp log mismatch duplex
!
!
!
control-plane
!
!
!
!
!
!
!
!
banner exec

***************************************************************
This is a normal Router with a SW module inside (NM-16ESW)
It has been preconfigured with hard coded speed and duplex

To create vlans use the command "vlan database" from exec mode
After creating all desired vlans use "exit" to apply the config

To view existing vlans use the command "show vlan-switch brief"

Warning: You are using an old IOS image for this router.
Please update the IOS to enable the "macro" command!
***************************************************************


!
line con 0
 exec-timeout 0 0
 privilege level 15
 password 7 040A1A5418
 logging synchronous
 login
line aux 0
 exec-timeout 0 0
 privilege level 15
 logging synchronous
line vty 0 4
 password 7 135406401C
 login
!
!
end
!
!

!
version 12.4
service timestamps debug datetime msec
service timestamps log datetime msec
no service password-encryption
!
hostname R2
!
boot-start-marker
boot-end-marker
!
enable secret 5 $1$gc7/$eOL9kEjSrkoCvjtcPYoLk0
!
no aaa new-model
memory-size iomem 5
no ip icmp rate-limit unreachable
ip cef
!
!
!
!
no ip domain lookup
ip auth-proxy max-nodata-conns 3
ip admission max-nodata-conns 3
!
!
!
!
!
!
!
!
!
!
!
!
!
!
!
!
!
username buster
!
!
ip tcp synwait-time 5
!
!
!
!
interface FastEthernet0/0
 no ip address
 shutdown
 duplex auto
 speed auto
!
interface Serial0/0
 no ip address
 shutdown
 clock rate 2000000
!
interface FastEthernet0/1
 no ip address
 shutdown
 duplex auto
 speed auto
!
interface FastEthernet1/0
 no ip address
 shutdown
 duplex auto
 speed auto
!
interface Serial2/0
 ip address 10.1.1.2 255.255.255.0
 serial restart-delay 0
!
interface Serial2/1
 no ip address
 shutdown
 serial restart-delay 0
!
interface Serial2/2
 no ip address
 shutdown
 serial restart-delay 0
!
interface Serial2/3
 no ip address
 shutdown
 serial restart-delay 0
!
interface FastEthernet3/0
!
interface FastEthernet3/1
!
interface FastEthernet3/2
!
interface FastEthernet3/3
!
interface FastEthernet3/4
!
interface FastEthernet3/5
!
interface FastEthernet3/6
!
interface FastEthernet3/7
!
interface FastEthernet3/8
!
interface FastEthernet3/9
!
interface FastEthernet3/10
!
interface FastEthernet3/11
!
interface FastEthernet3/12
!
interface FastEthernet3/13
!
interface FastEthernet3/14
!
interface FastEthernet3/15
!
interface Vlan1
 ip address 192.168.2.1 255.255.255.0
!
!
ip default-gateway 10.1.1.1
ip forward-protocol nd
ip route 10.180.1.0 255.255.255.0 Serial2/0
!
!
no ip http server
no ip http secure-server
!
no cdp log mismatch duplex
!
!
!
control-plane
!
!
!
!
!
!
!
!
!
!
line con 0
 exec-timeout 0 0
 privilege level 15
 password 1q2w
 logging synchronous
 login
line aux 0
 exec-timeout 0 0
 privilege level 15
 logging synchronous
line vty 0 4
 password 1q2w
 login
!
!
end
2017년 1월 25일 수요일

xterm 및 uxterm 의 백그라운드 색 변경

xterm 및 uxterm 의 백그라운드 색 변경
우선 사용자 홈 에서 다음 파일에 아래 코드삽입

 .Xresources


XTerm*foreground: rgb:b2/b2/b2
XTerm*background: rgb:08/08/08
XTerm*color0: rgb:28/28/28

! ...Lines omitted...

XTerm*color15: rgb:e4/e4/e4


UXTerm*foreground: rgb:b2/b2/b2
UXTerm*background: rgb:08/08/08
UXTerm*color0: rgb:28/28/28

! ...Lines omitted...

UXTerm*color15: rgb:e4/e4/e4


mariadb 외부 접속 방법 mysql 외부 접속 방법

1. mysql 접속 후 mysql database 선택 
mysql> use mysql;

2. user 테이블 살펴보기 
mysql> select host, user, password from user;

root 의 host 값들은 localhost, 127.0.0.1 등으로 기본 등록되어 있지만, 외부접속을 나타내는 값이 없다. 특정 아이피로 지정할 수도 있지만 여기선 % 기호로 어디서든 접속 가능하게 만든다. 

3. 권한 설정 
mysql> grant all privileges on *.* to 'root'@'%' identified by 'root의 패스워드';
Query OK, 0 rows affected (0.03 sec)

4. 등록확인하기
mysql> select host, user, password from user;

root 계정의 host 필드에 % 가 등록되었는지 확인한다. 

5. refrash
mysql> flush privileges;
Query OK, 0 rows affected (0.00 sec)

위 단계는 my.cnf 파일 수정후 서버를 재시작할 것이기 때문에 굳이 안해도 된다. 

6. my.cnf 에서 외부접속 관련사항 변경하기 
user@home:~$ sudo vim /etc/mysql/my.cnf 

파일 내용중 
bind-address = 127.0.0.1 
부분 주석처리후 저장하기 

7. mysql 재시작 
user@home:~$ sudo /etc/init.d/mysql restart 

8. 완료. 
이제 외부 클라이언트 프로그램에서 접속이 가능하다 ^^

synergy 이용한 키보드 마우스 공유

준비한 노트북이 두대 일때.
보통 인터넷은  wifi 로 연결해서 쓴다는 가정에
아마도 유선LAN 포트는 놀고 있다고 생각 해보자 그럼 그포트를 어디에 쓸것인가
크로스 케이블로 연결 하여 마우스와 키보드를 공유 해 보자
(WIFI 로 공유기에 물려서도 가능하다.)
정말 창의적인 개념이다.


1.노트북 : windows 7
역활 : synergy server 역활( 인터넷에서 현재 1.62를 구할 수 있다 github 에 있다)
IP :10.10.10.10 

*** 참고로 이곳에 소스버젼과 실행 파일을 올려 놓겠다.  언젠가 부터 기부는 중단 되고 
돈주고 사는 것이 된듯 하다 아래의 싸이트에서 다운로드 할 수 없다.

아래 시너지 싸이트 에서 구할 수 있다.
만약 구할 수 없다면 github 나 구글링을 10분정도 하면 쉽게 구할 수 있다.


그래도 못 구한다면 친절하게 아래를 클릭 하면 다운로드 할 수 도 있다. 
아마도 이렇게 올리는 것이 본인이게 불이익이 생긴다면 아마 첨부파일은 조만간에 짤릴 수 있음을 명심하자.ㅋ


2.노트북 : GNU LINUX 
역활 : 서브노트북 이라 명칭 하며 (1.62 보다 낮은 버젼이 깔려 있어도 상관없다)
IP :10.10.10.20
IP 설정은 환경에 맞게 설정 하시면 됨
3. Cross UTP Cable

루트로 로그인 하여 다음과 같이 수정
vi /etc/lightdm/lightdm.conf
아래 와 같이 수정 한다. 분홍색 부분이 수정된 부분이다 잘 알아서 끼워 넣는다.
복사해서 넣튼 직접 치든 맘에 드는데로 하세요

greeter-setup-script=/usr/bin[SeatDefaults]
#xserver-command=X
#xserver-layout=
#xserver-config=
xserver-allow-tcp=false
#xdmcp-manager=
#xdmcp-port=177
#xdmcp-key=
greeter-session=lightdm-greeter
greeter-hide-users=true
#greeter-allow-guest=true
#greeter-show-manual-login=false
#user-session=default
#allow-guest=true
#guest-session=UNIMPLEMENTED
session-wrapper=/etc/X11/Xsession
#display-setup-script=
#greeter-setup-script=
#session-setup-script=
#session-cleanup-script=
#autologin-guest=false
#autologin-user=
#autologin-user-timeout=0
#autologin-session=UNIMPLEMENTED
#exit-on-failure=false
greeter-setup-script=/usr/bin/synergyc 10.10.10.10
 사용예제
synergyc 
윈도우 메니저를 재시작 한다. 나의 경우는 lightdm 을 사용 하므로 ㅋㅋ


restart lightdm
sudo /etc/init.d/lightdm restart
위와 같이 설정 하고 lightdm 재시작을 했을떄 마법이 일어나 노트북 두대가 하나의 

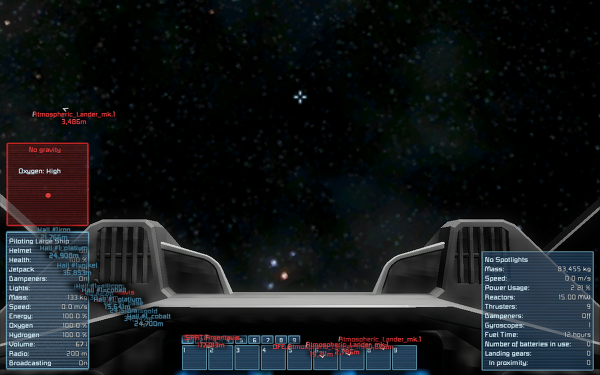
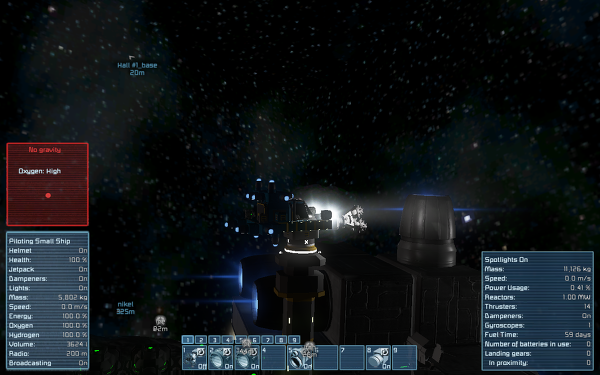
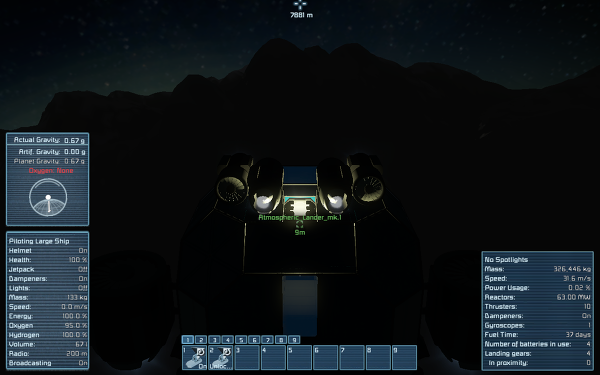
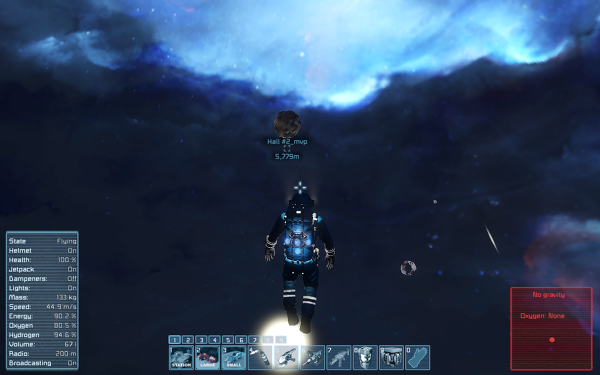
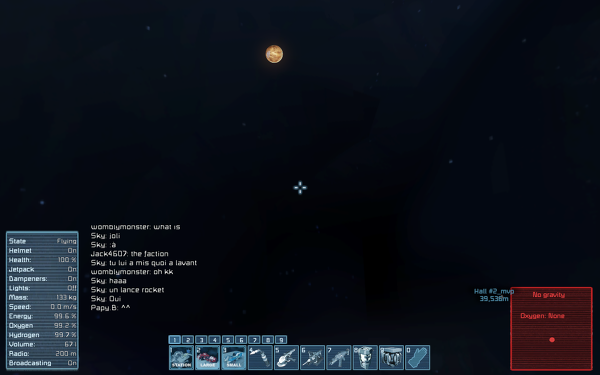
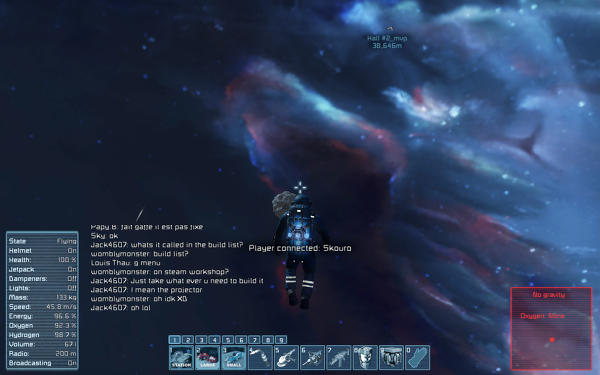
스페이스 엔지니어 게임소개

KSH 의 2013 스팀을 통해 유통 되고 있습니다.
keen Software house
우주와 행성을 배경으로 서바이벌 , 빌딩, 전투, 개척 , 이런 것들을 할 수 있으나.
실상 게임을 시작해서 하면 무엇을 해야 할지 감이 잘오지 않는 게임 입니다.

인터넷 찾아 보면 살아 남는 방법은 단시간에 터득 할 수 있다.
서바이벌 하기 위해 환경(기반 시설)을 구축 하다 보면 시간 가는 줄 모른다 그러나 살아 남은 후 목표가 상실 되어 할게 없어지는 현상이 일어나 결구 이것저것 바로 만들어 보는 create mode 하고 있는 자신을 볼것이다.

아래는 스크린 샷을 찍어 놓은게 있어 두서 없이  설명 만 나열 하였다.


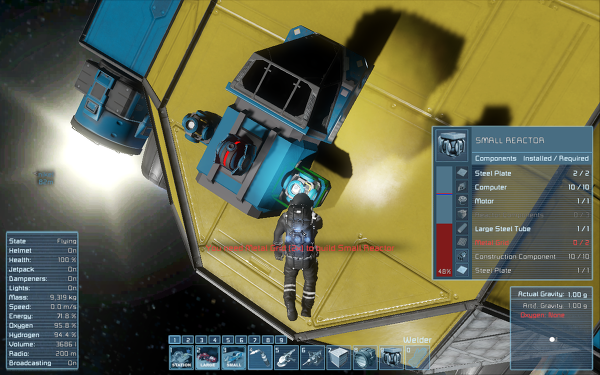
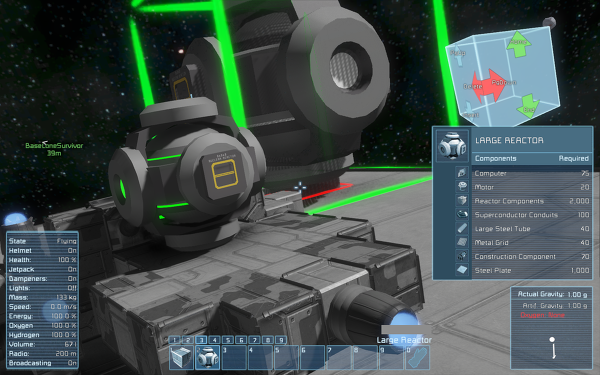
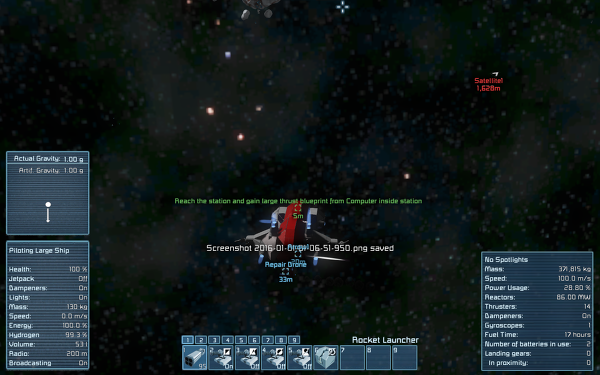
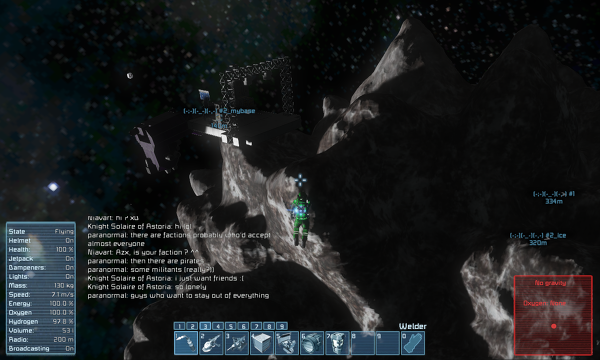
살아 남기 위해서 이런 기지를 만들수 있다.
혼자서 할때는 이렇게 소행성위에 기지를 많이 건설 하지만 이것은 위험한 발상이다.
유성에의해서 종이장처럼 파괴되고 멀티 서버에서는 공격하기 쉬운 대상이 된다.


우주 배경을 바꿔 봤다.


어떤  멀티 서버에 들어가면 아무 것도 없는 경우도 있다.


저쪽앞에 소행성이 하나 보이는데 조심히 접근 해본다.

걱정말라 이정도 만드는것은 1시간도 하다보면 터득 한다.

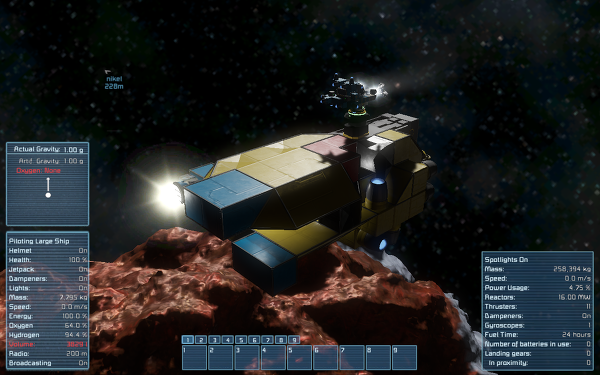
이것은 멀티 서버에서 주는 startship으로 기본 우주선이다. 한참 끌고 다니다 보면 여기저기 부서진다.
색깔이 있는 부분이 파괴되어 다시 만든 부분이며 앞부분은 모두 날라 갔다.


베틀쿠루져 이런것도 있다.


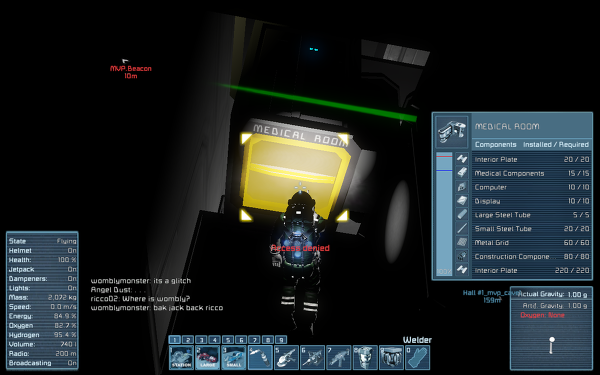
메디컬룸 죽으면 여기서 부활 한다. 또한 산소와 에너지,하이드로젠(기본우주복 로켓 연료)을 충전 할 수 있다.


소행성에 gold ore 이다 이것을 refinary 에서 gold ingot 으로 만들어 부품을 만들 수 있다.


행성 컴퓨터 사양이 좋아야 돌릴 수 있으며 메모리 또한 많이 점유 한다.
스케일은 크지만 그않에 컨텐츠는 없다.


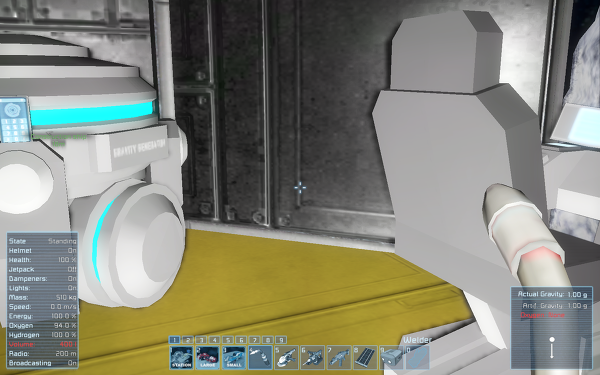
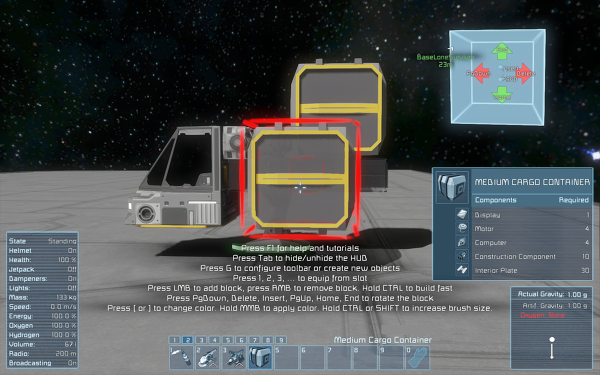
중력 발생기


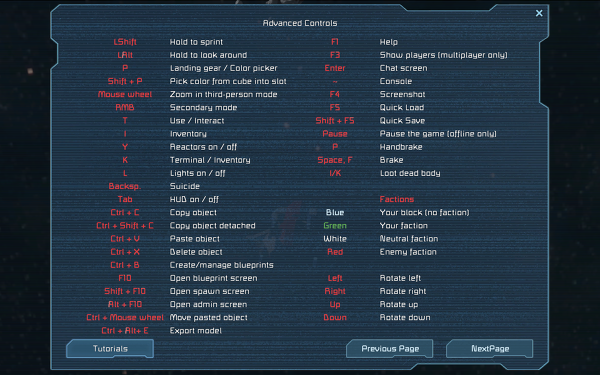
key map
rs


스물 drill ship 소행성 광맥을 찾아 마이닝 하여 자원을 수송 한다. 서바이벌 모드시 가장 기본이자 최초로 만들게 될것이다.살아남기 위해서는 드릴십을 만들어라.

스팀에서 2만 7천원에 판매 하는데 팁을 드리자면 연말이나 미국의 무슨 날에는 50% sale 을 하게 되니 그때를 노려 반값에 구매 하면 돈값을 하는 게임이다.
그럼 끝

linux mouse wheel Sensitivity adjustment 리눅스 마우스 휠 감도 조절

home 에 .imwheelrc 파일에 다음과 같이 설정

==================================================
".*"
None, Up, Button4, 3
None, Down, Button5, 3
None, Thumb1, Alt_L|Left
None, Thumb2, Alt_L|Right
==================================================

imwheel -k

INFO: imwheel(pid=4196) killed.
INFO: imwheel started (pid=4427)

klled 후 프로세서 시작된 후
마우스 동작 확인 하면 된다
휠의 감도나 마우스 엄지 버튼의 역활

무료 요약 AI 서비스

  Claude by Brunch , Twelve Labs , Canva Summarizer , AIQ.Video Q&A by Scatter Labs , Summarify , Summary Box , summate.io , Sol...